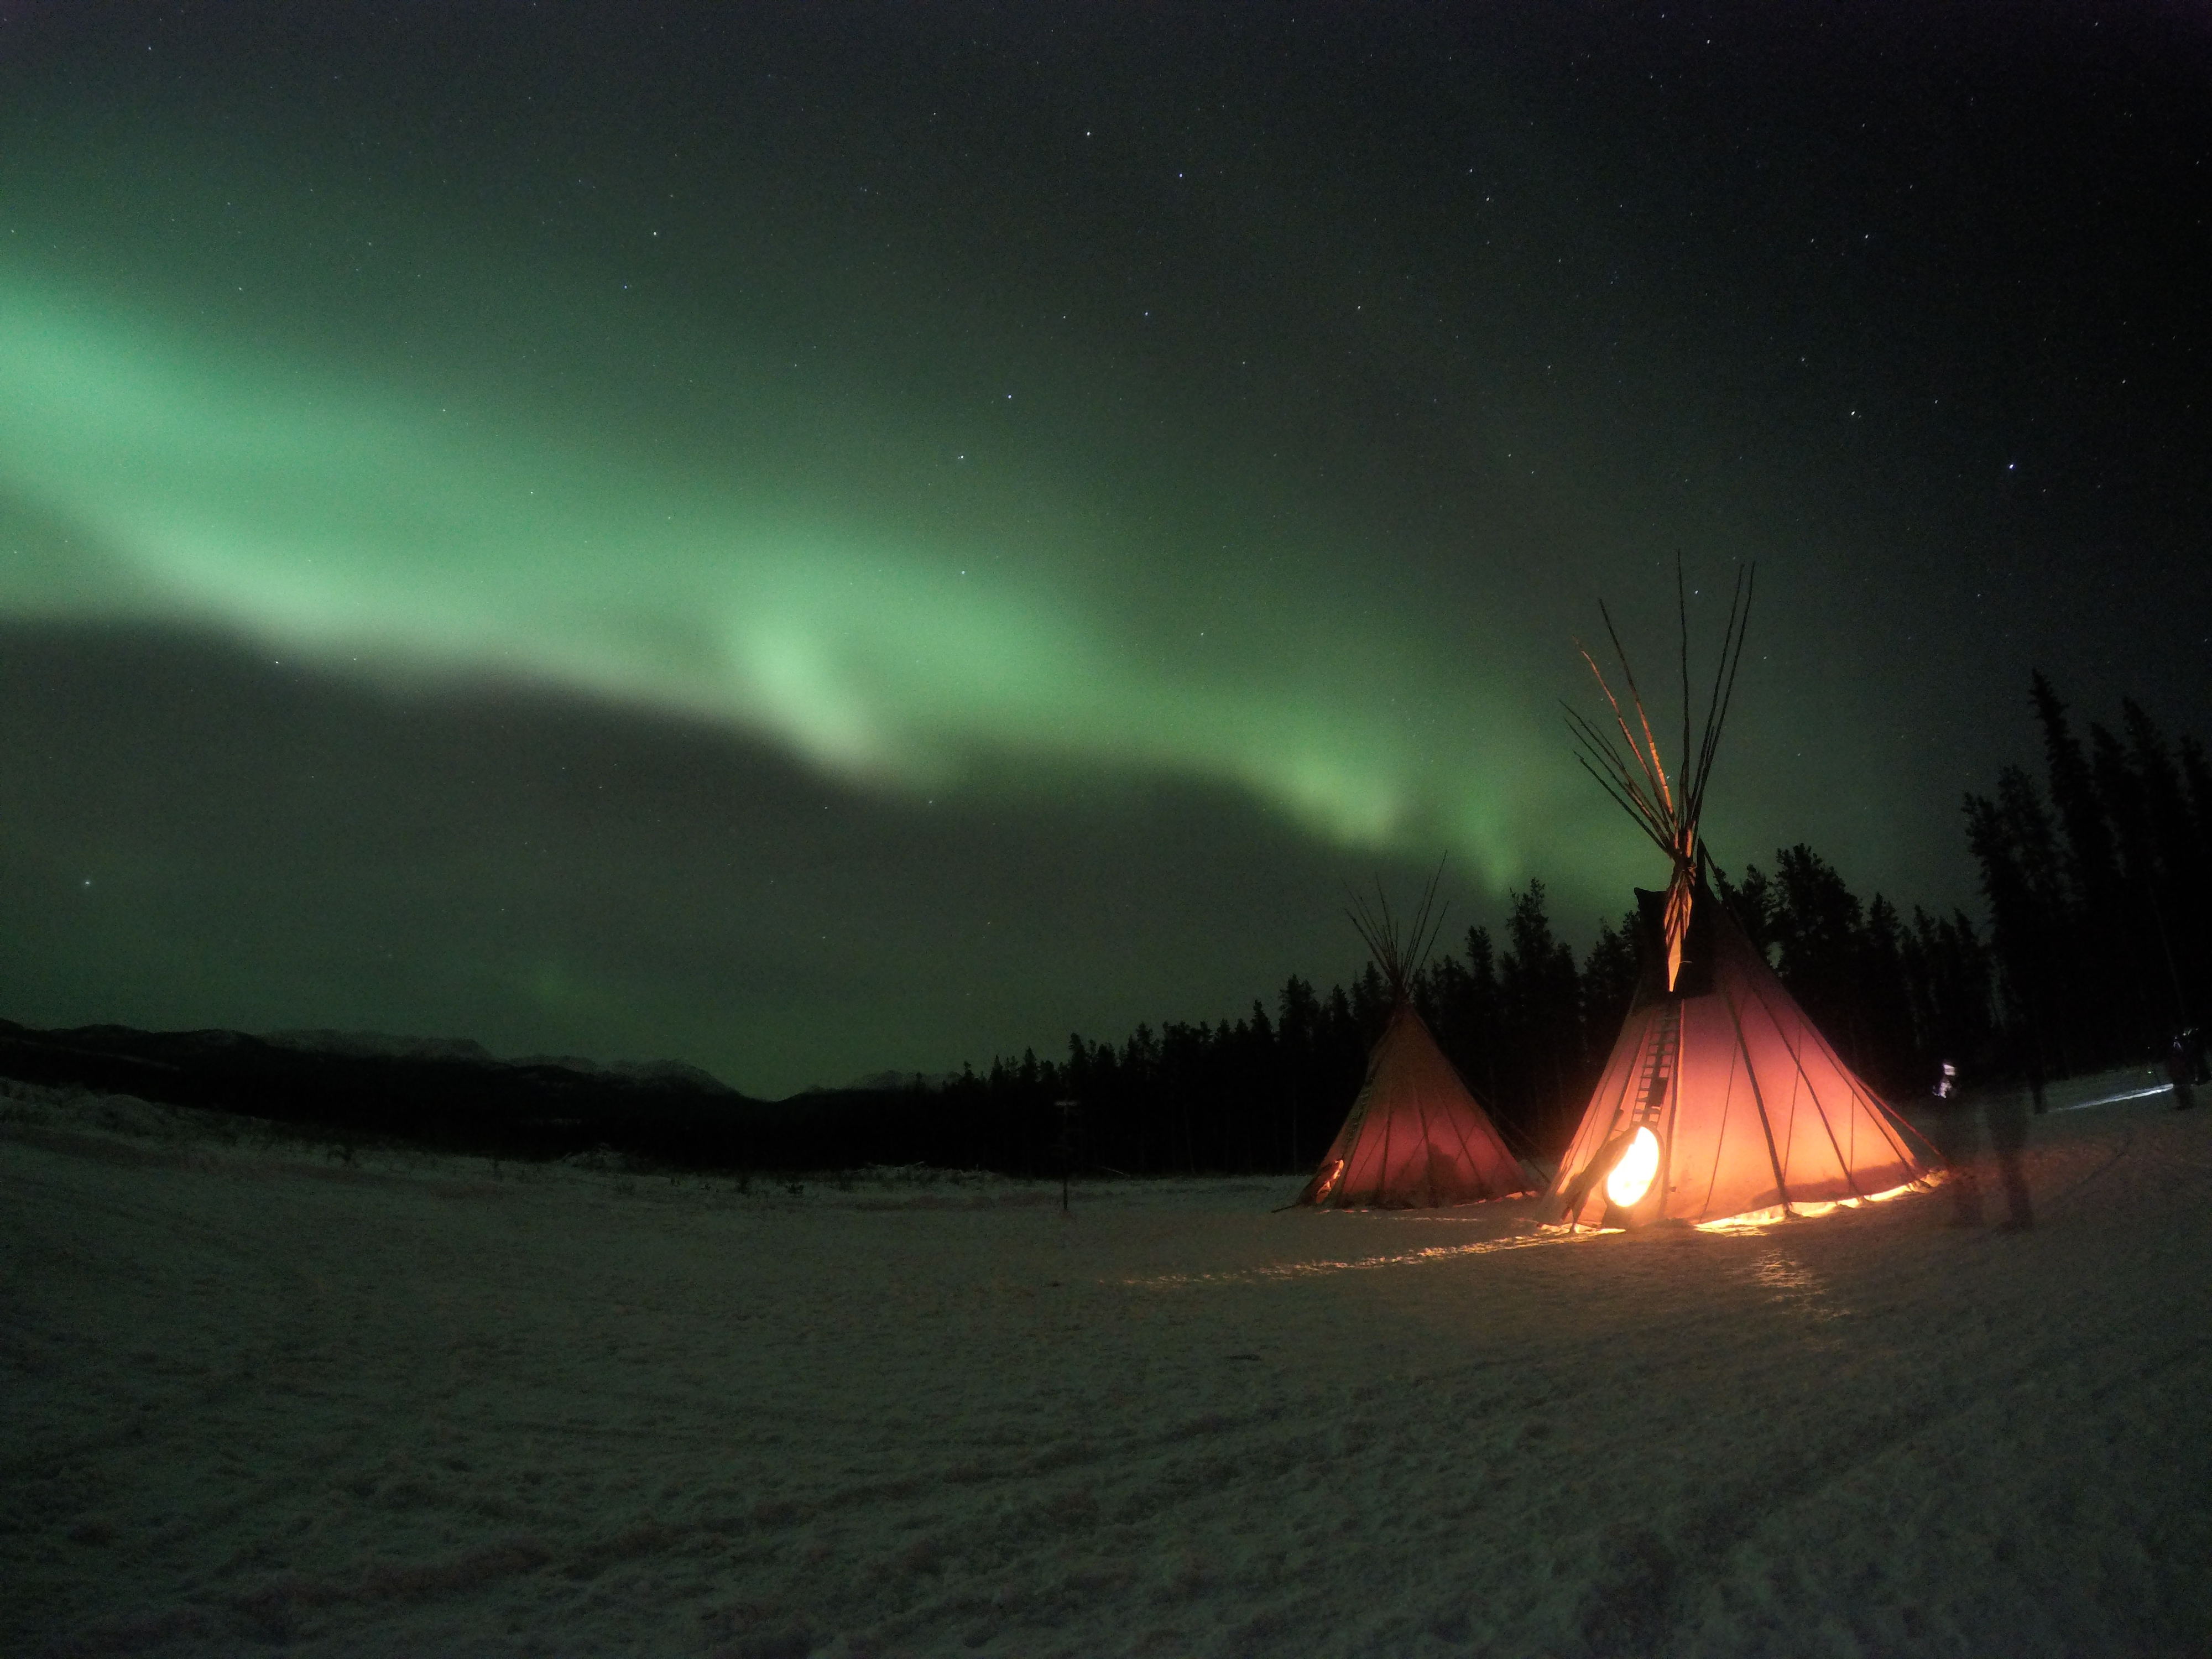
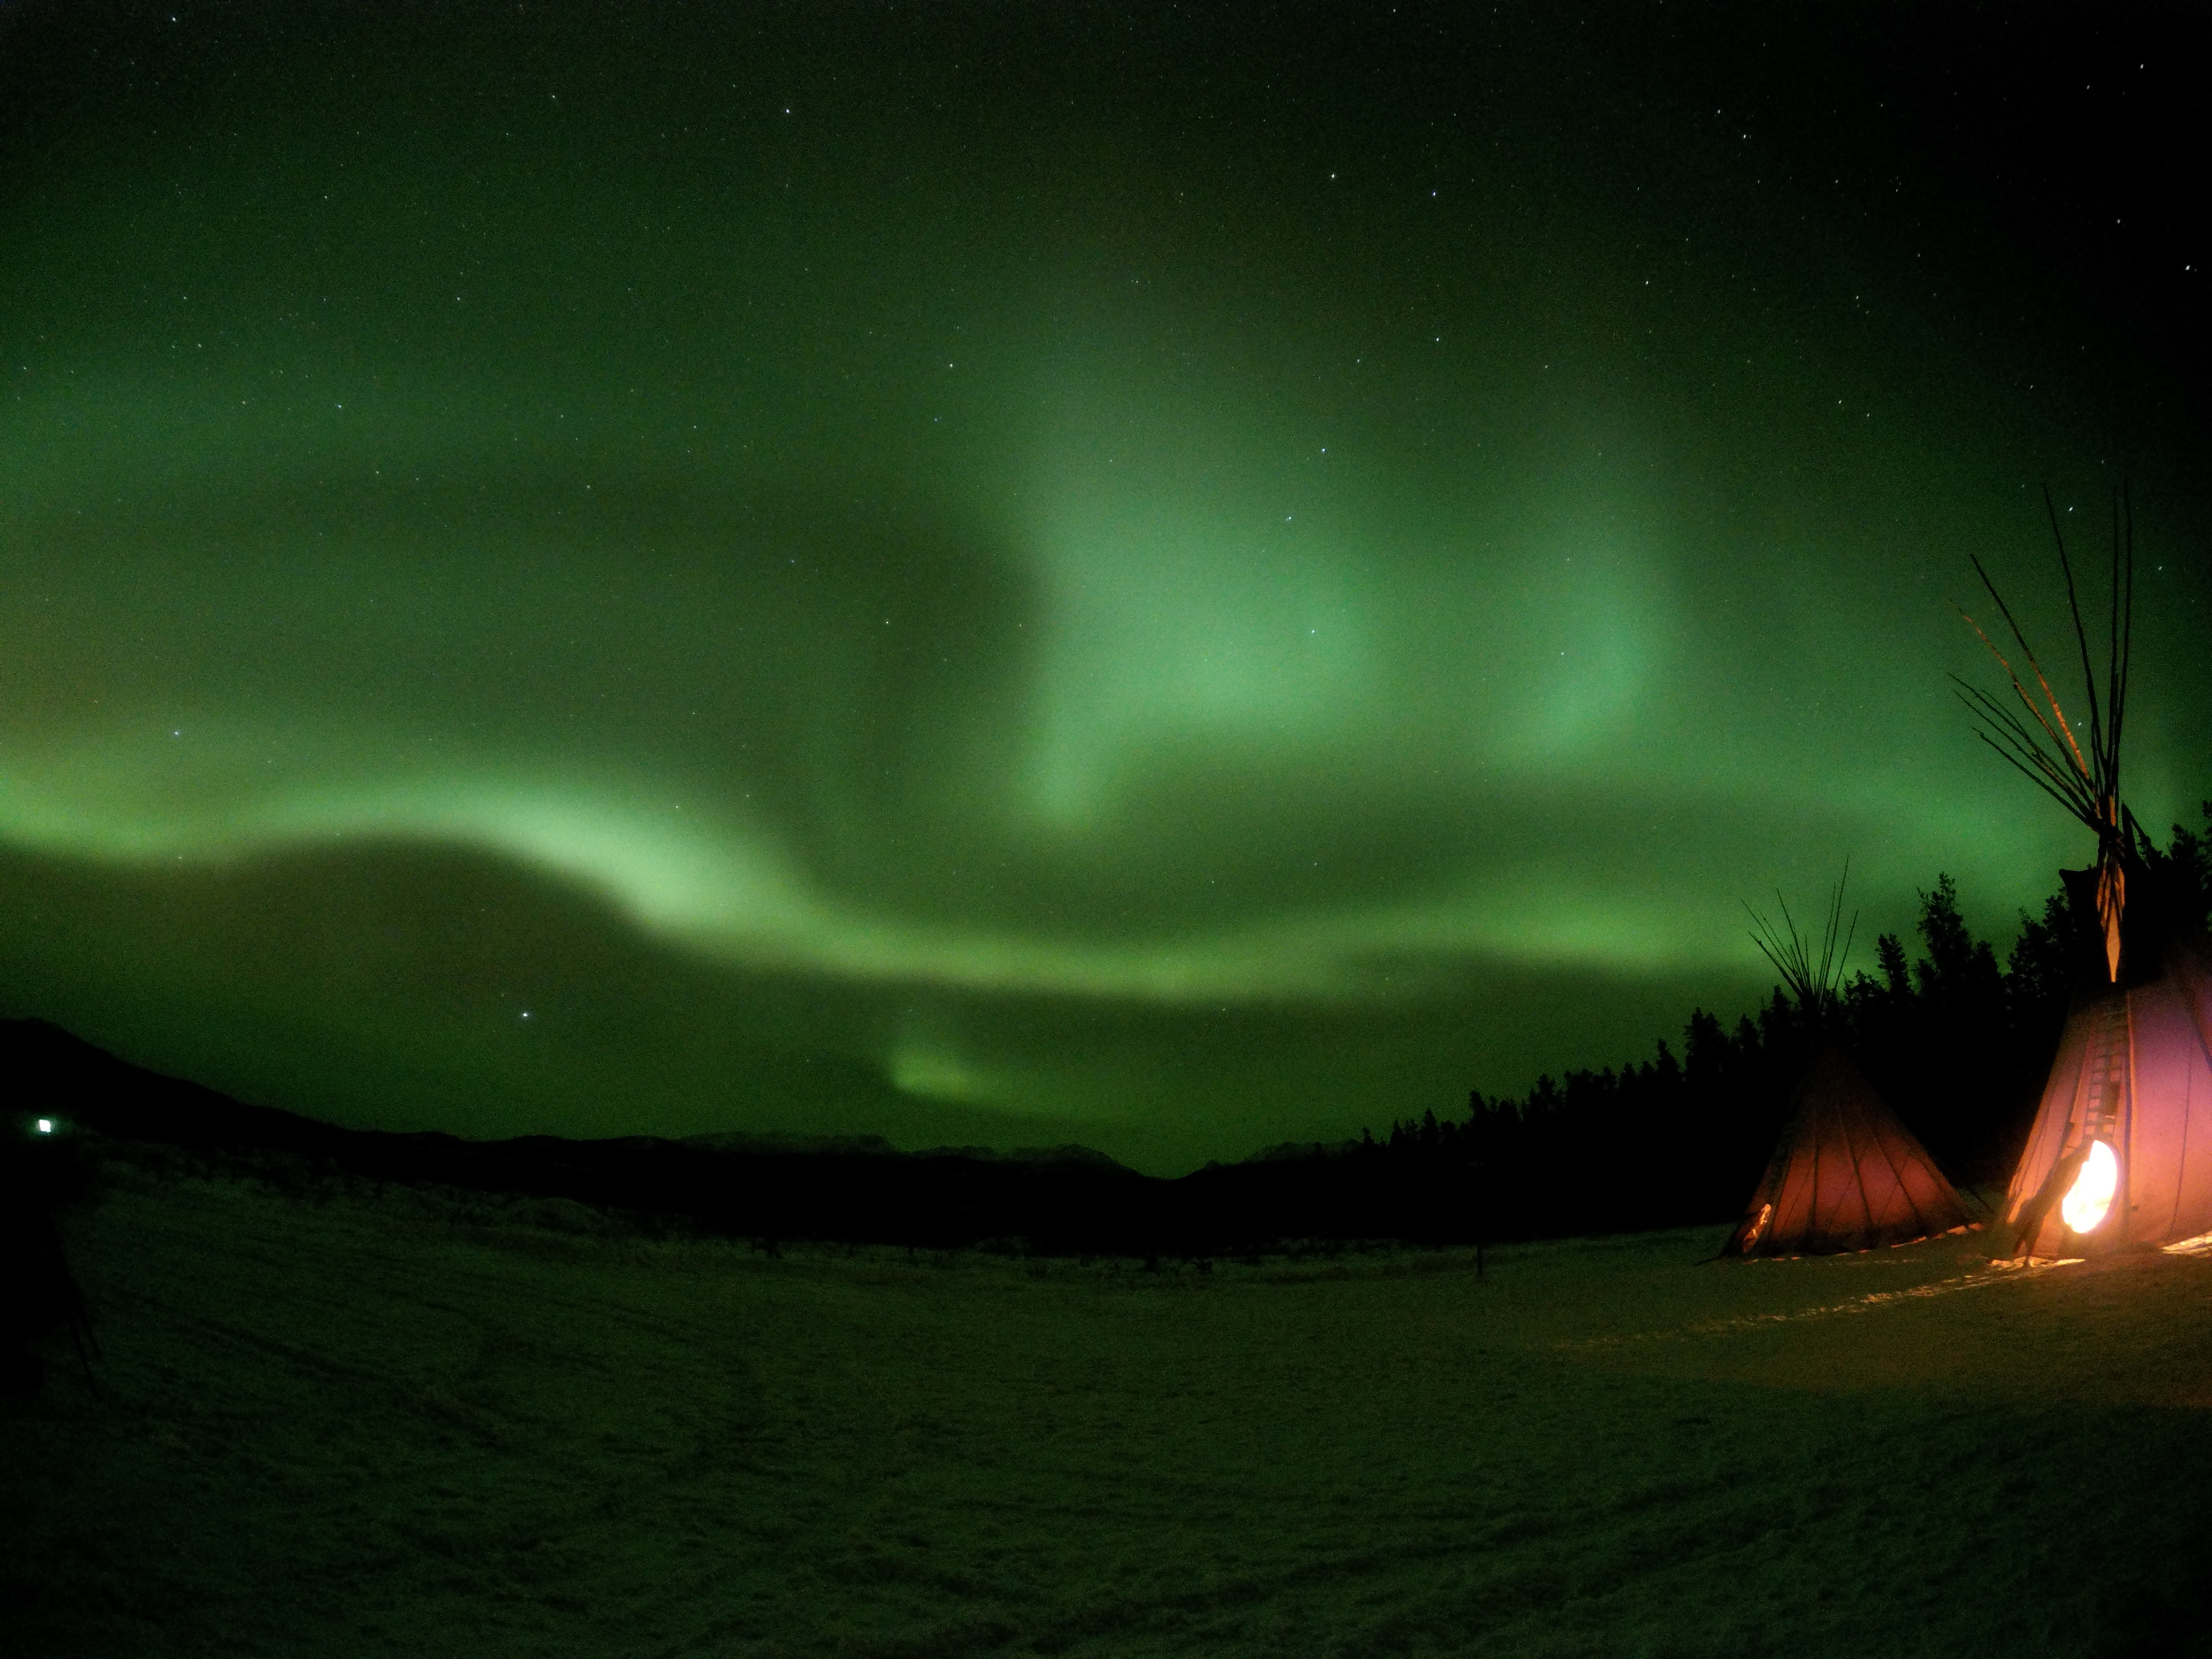
For those who are reading my blog on their desktop or laptop, the photo above got cropped so I placed the image again below so you could see it:
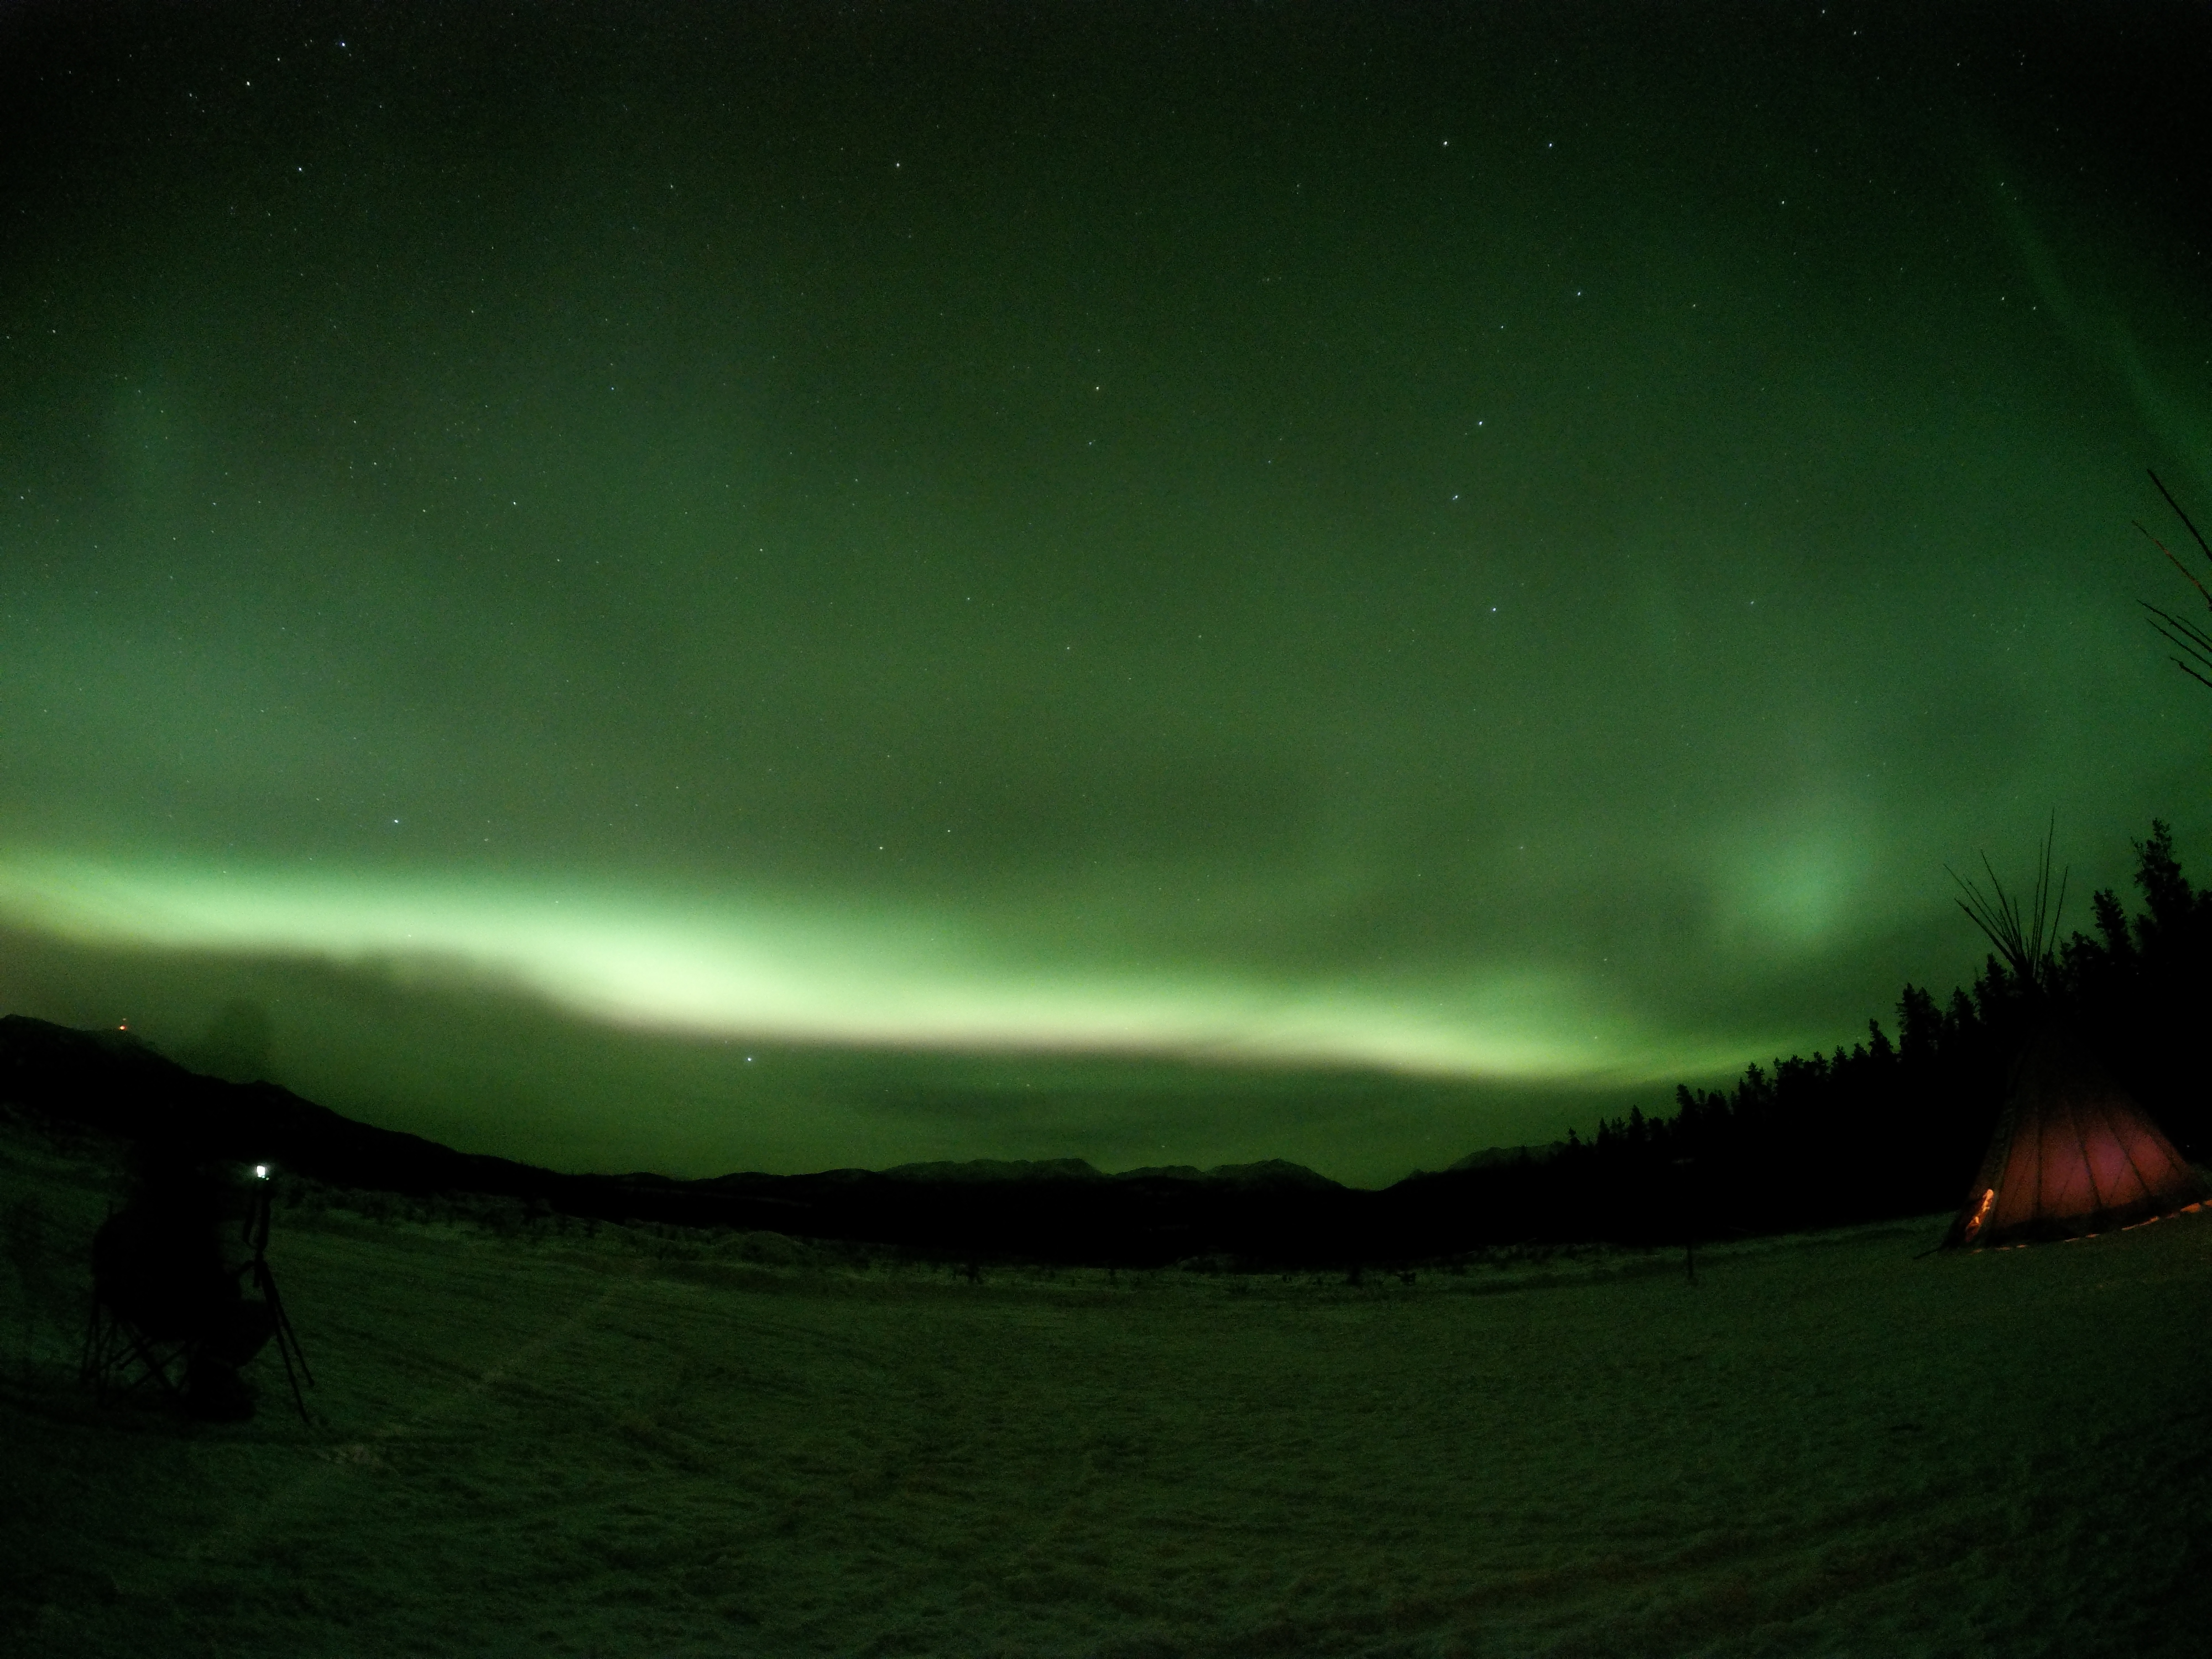
 taken using a GoPro Hero 4 (unedited)
Yup, it might be shocking for some but that photo was taken with only a GoPro.
If you google or do your own research on how to take photos of the Aurora Borealis, most sites would tell you that you need a SLR camera or a professional camera but if you are like me who doesn’t have both and you only have a GoPro, continue reading down below.
Before I start sharing my settings, please DO NOT FORGET to BRING A TRIPOD. I cannot stress how important this is as you MUST NOT move your camera/GoPro when you are about to take a photo (you will have a high shutter speed and you cannot move your camera/GoPro). Also, BRING EXTRA BATTERY. The cold weather will drain your battery quick so try to bring as plenty as you can.
I was able to get some bits and pieces on the internet about the specific settings that should be changed but unfortunately I wasn’t satisfied with the final photo thus I did some trial and errors on my own until I was able to get the perfect mix.
First of all go to PHOTO SETTINGS. Below you will see the following: Mode, shutter, Megapixels etc. and here is what I did for each label setting.
Mode: Night
Shutter: 30 Seconds
Megapixels: 12MP/Wide
Spot Meter: Off
Protune: On
White Balance: 4000K
Color: GoPro Color
ISO Minimum: 800
ISO Maximum: 800
Sharpness: High
EV Compensation: N/A
There you go! I hope my trial and error settings can help you take good photos when you chase the Aurora Borealis! ( blog about Chasing Aurora )
Show/share with me some of your photos if you also used a GoPro ♥
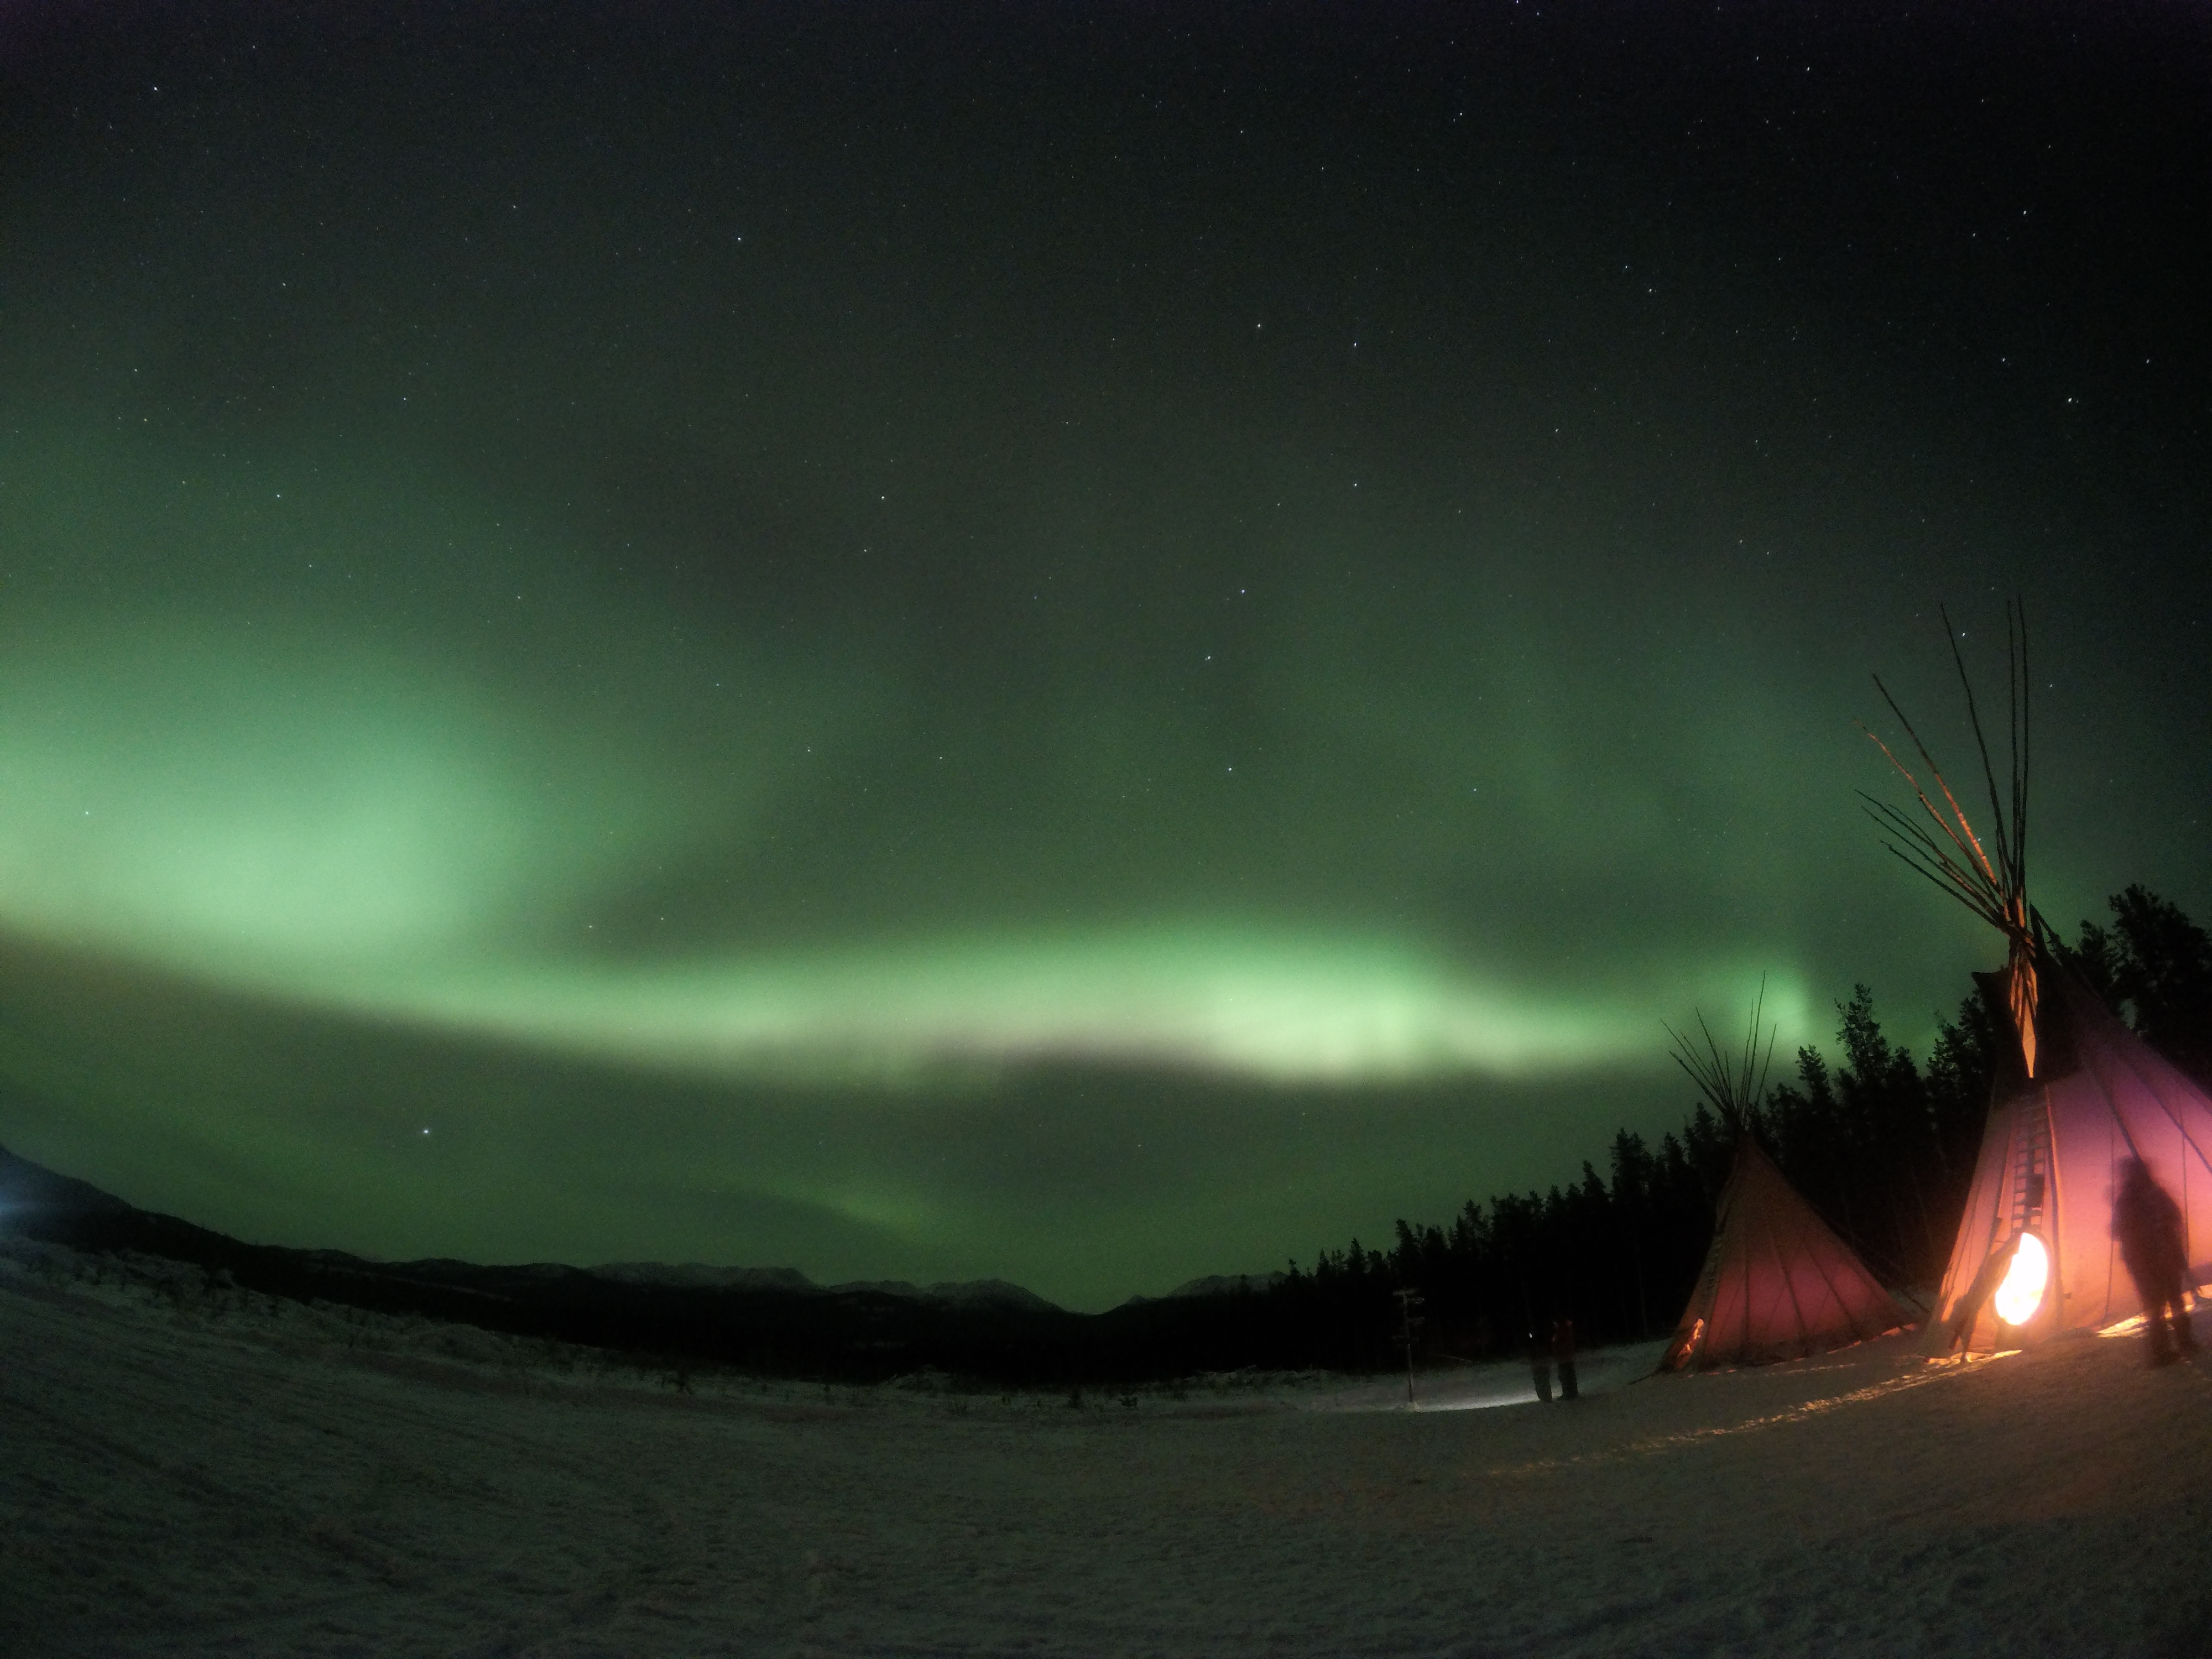
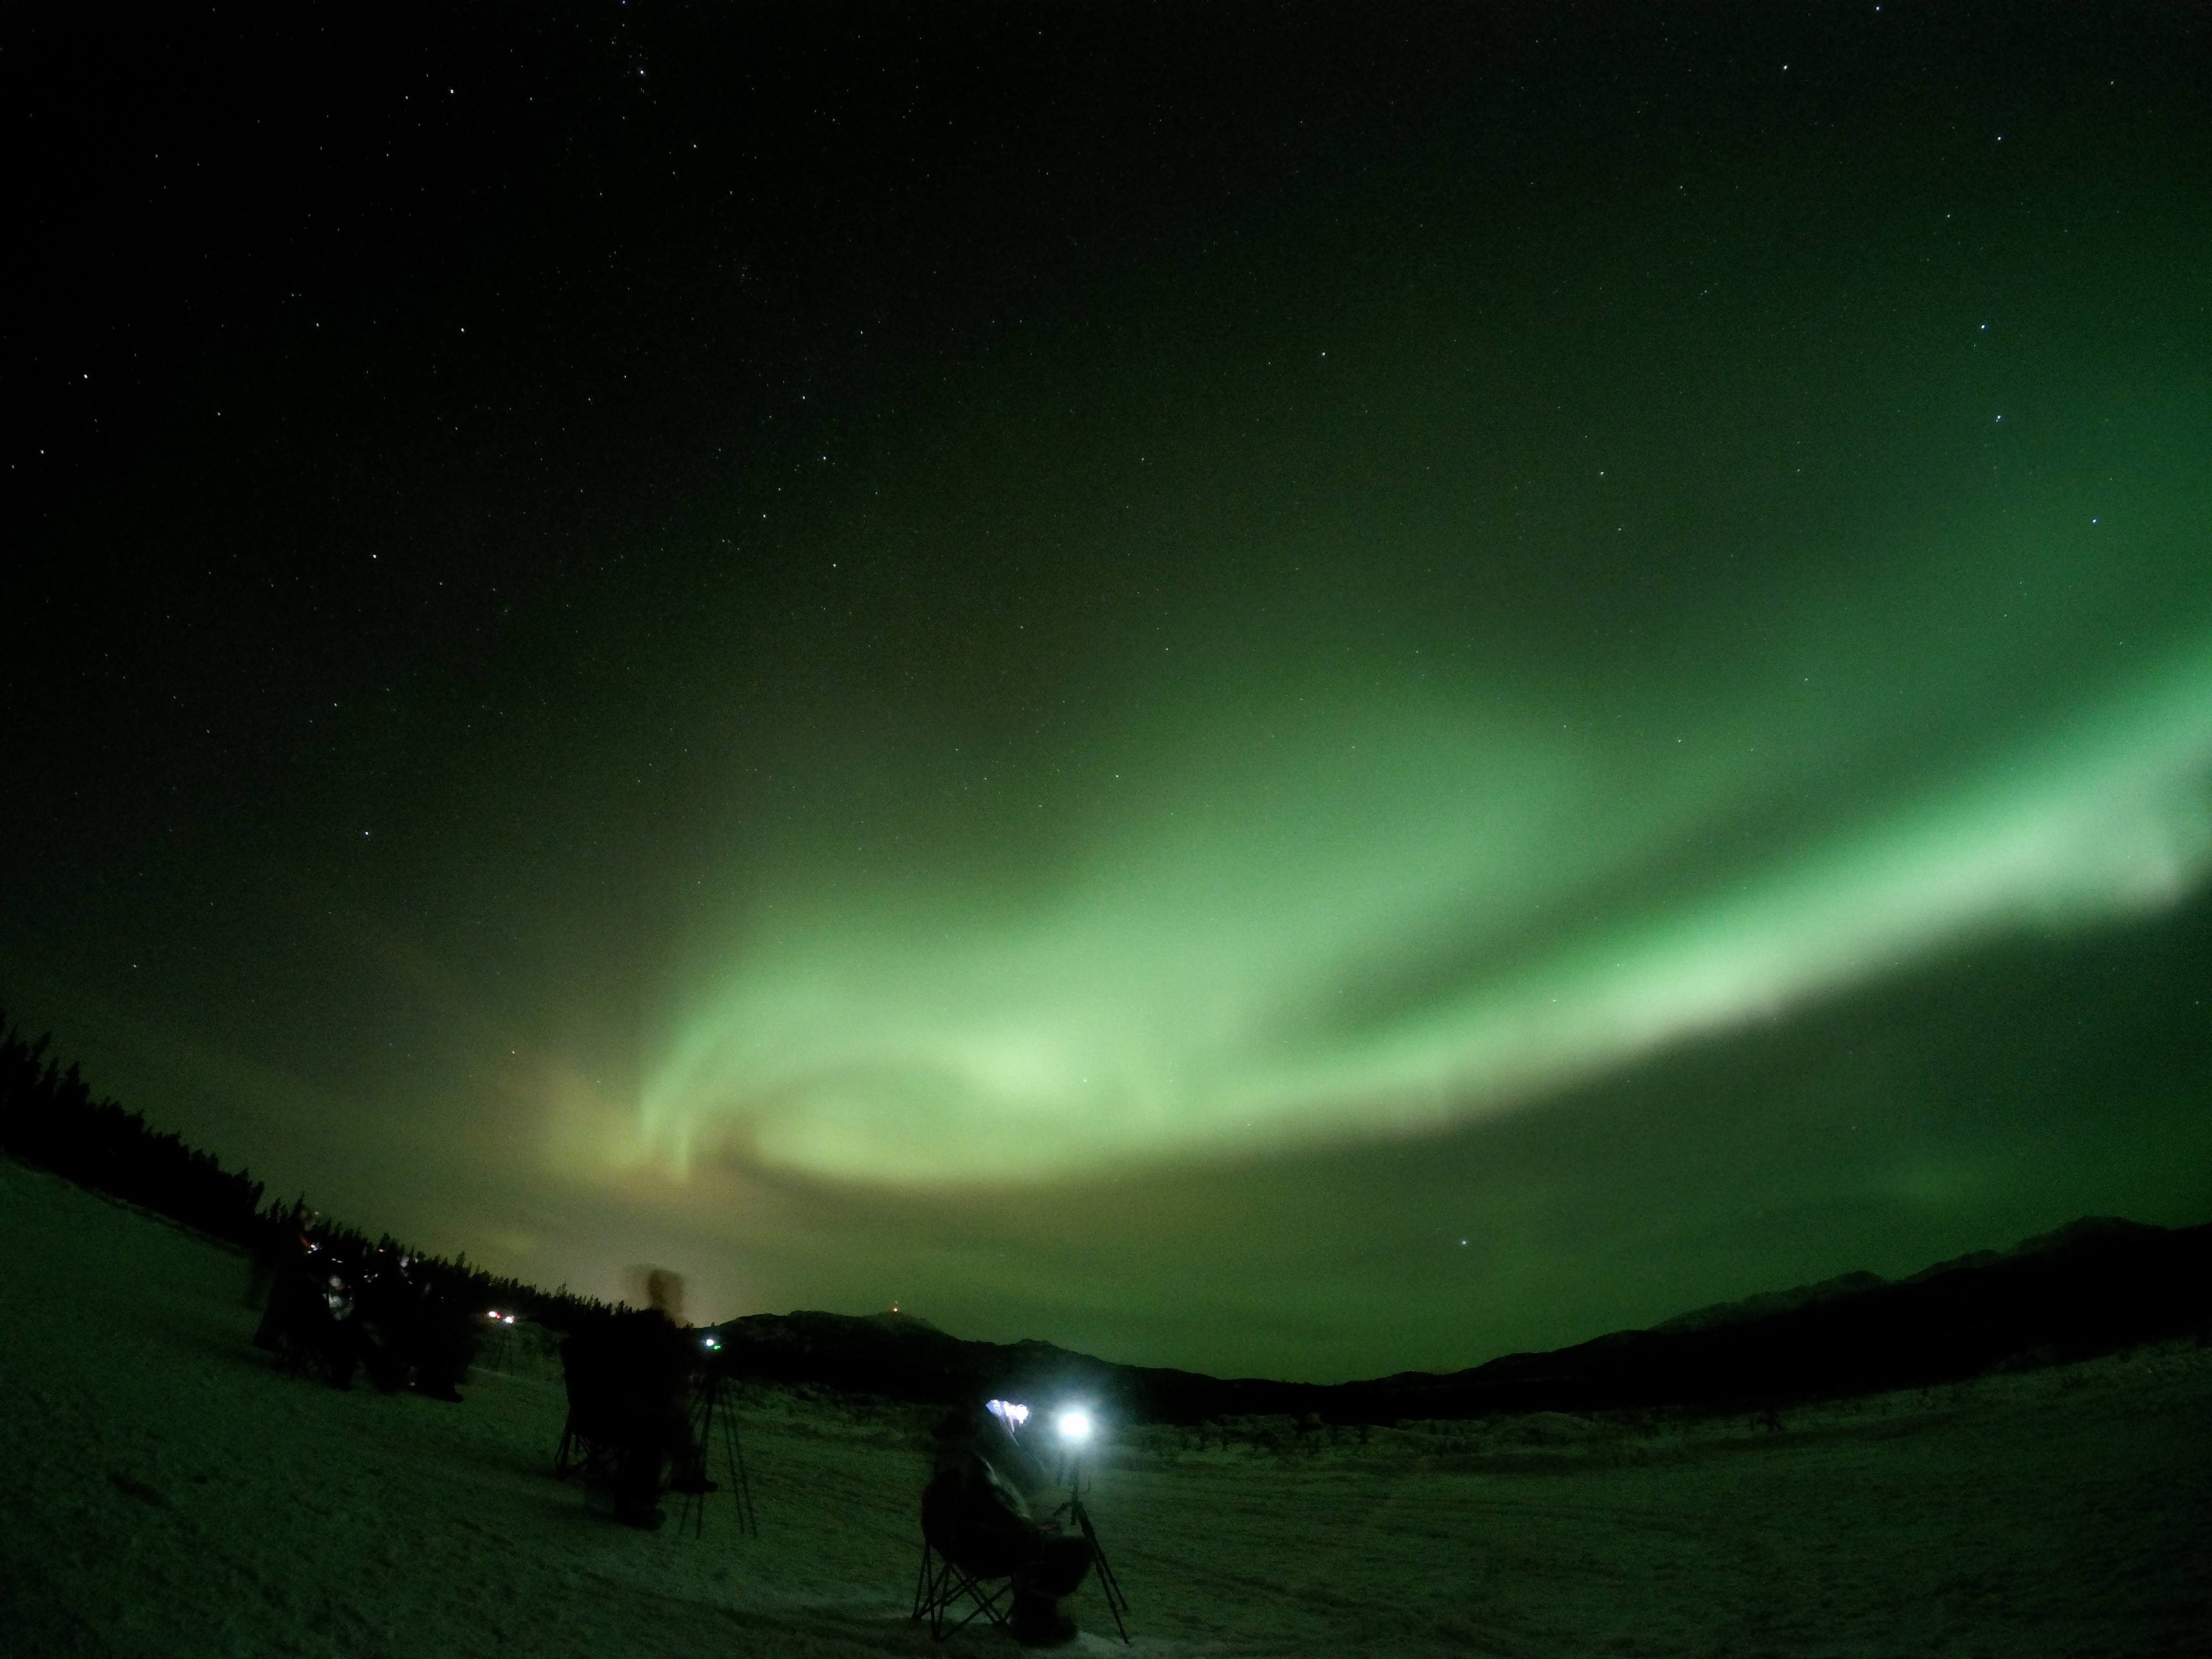
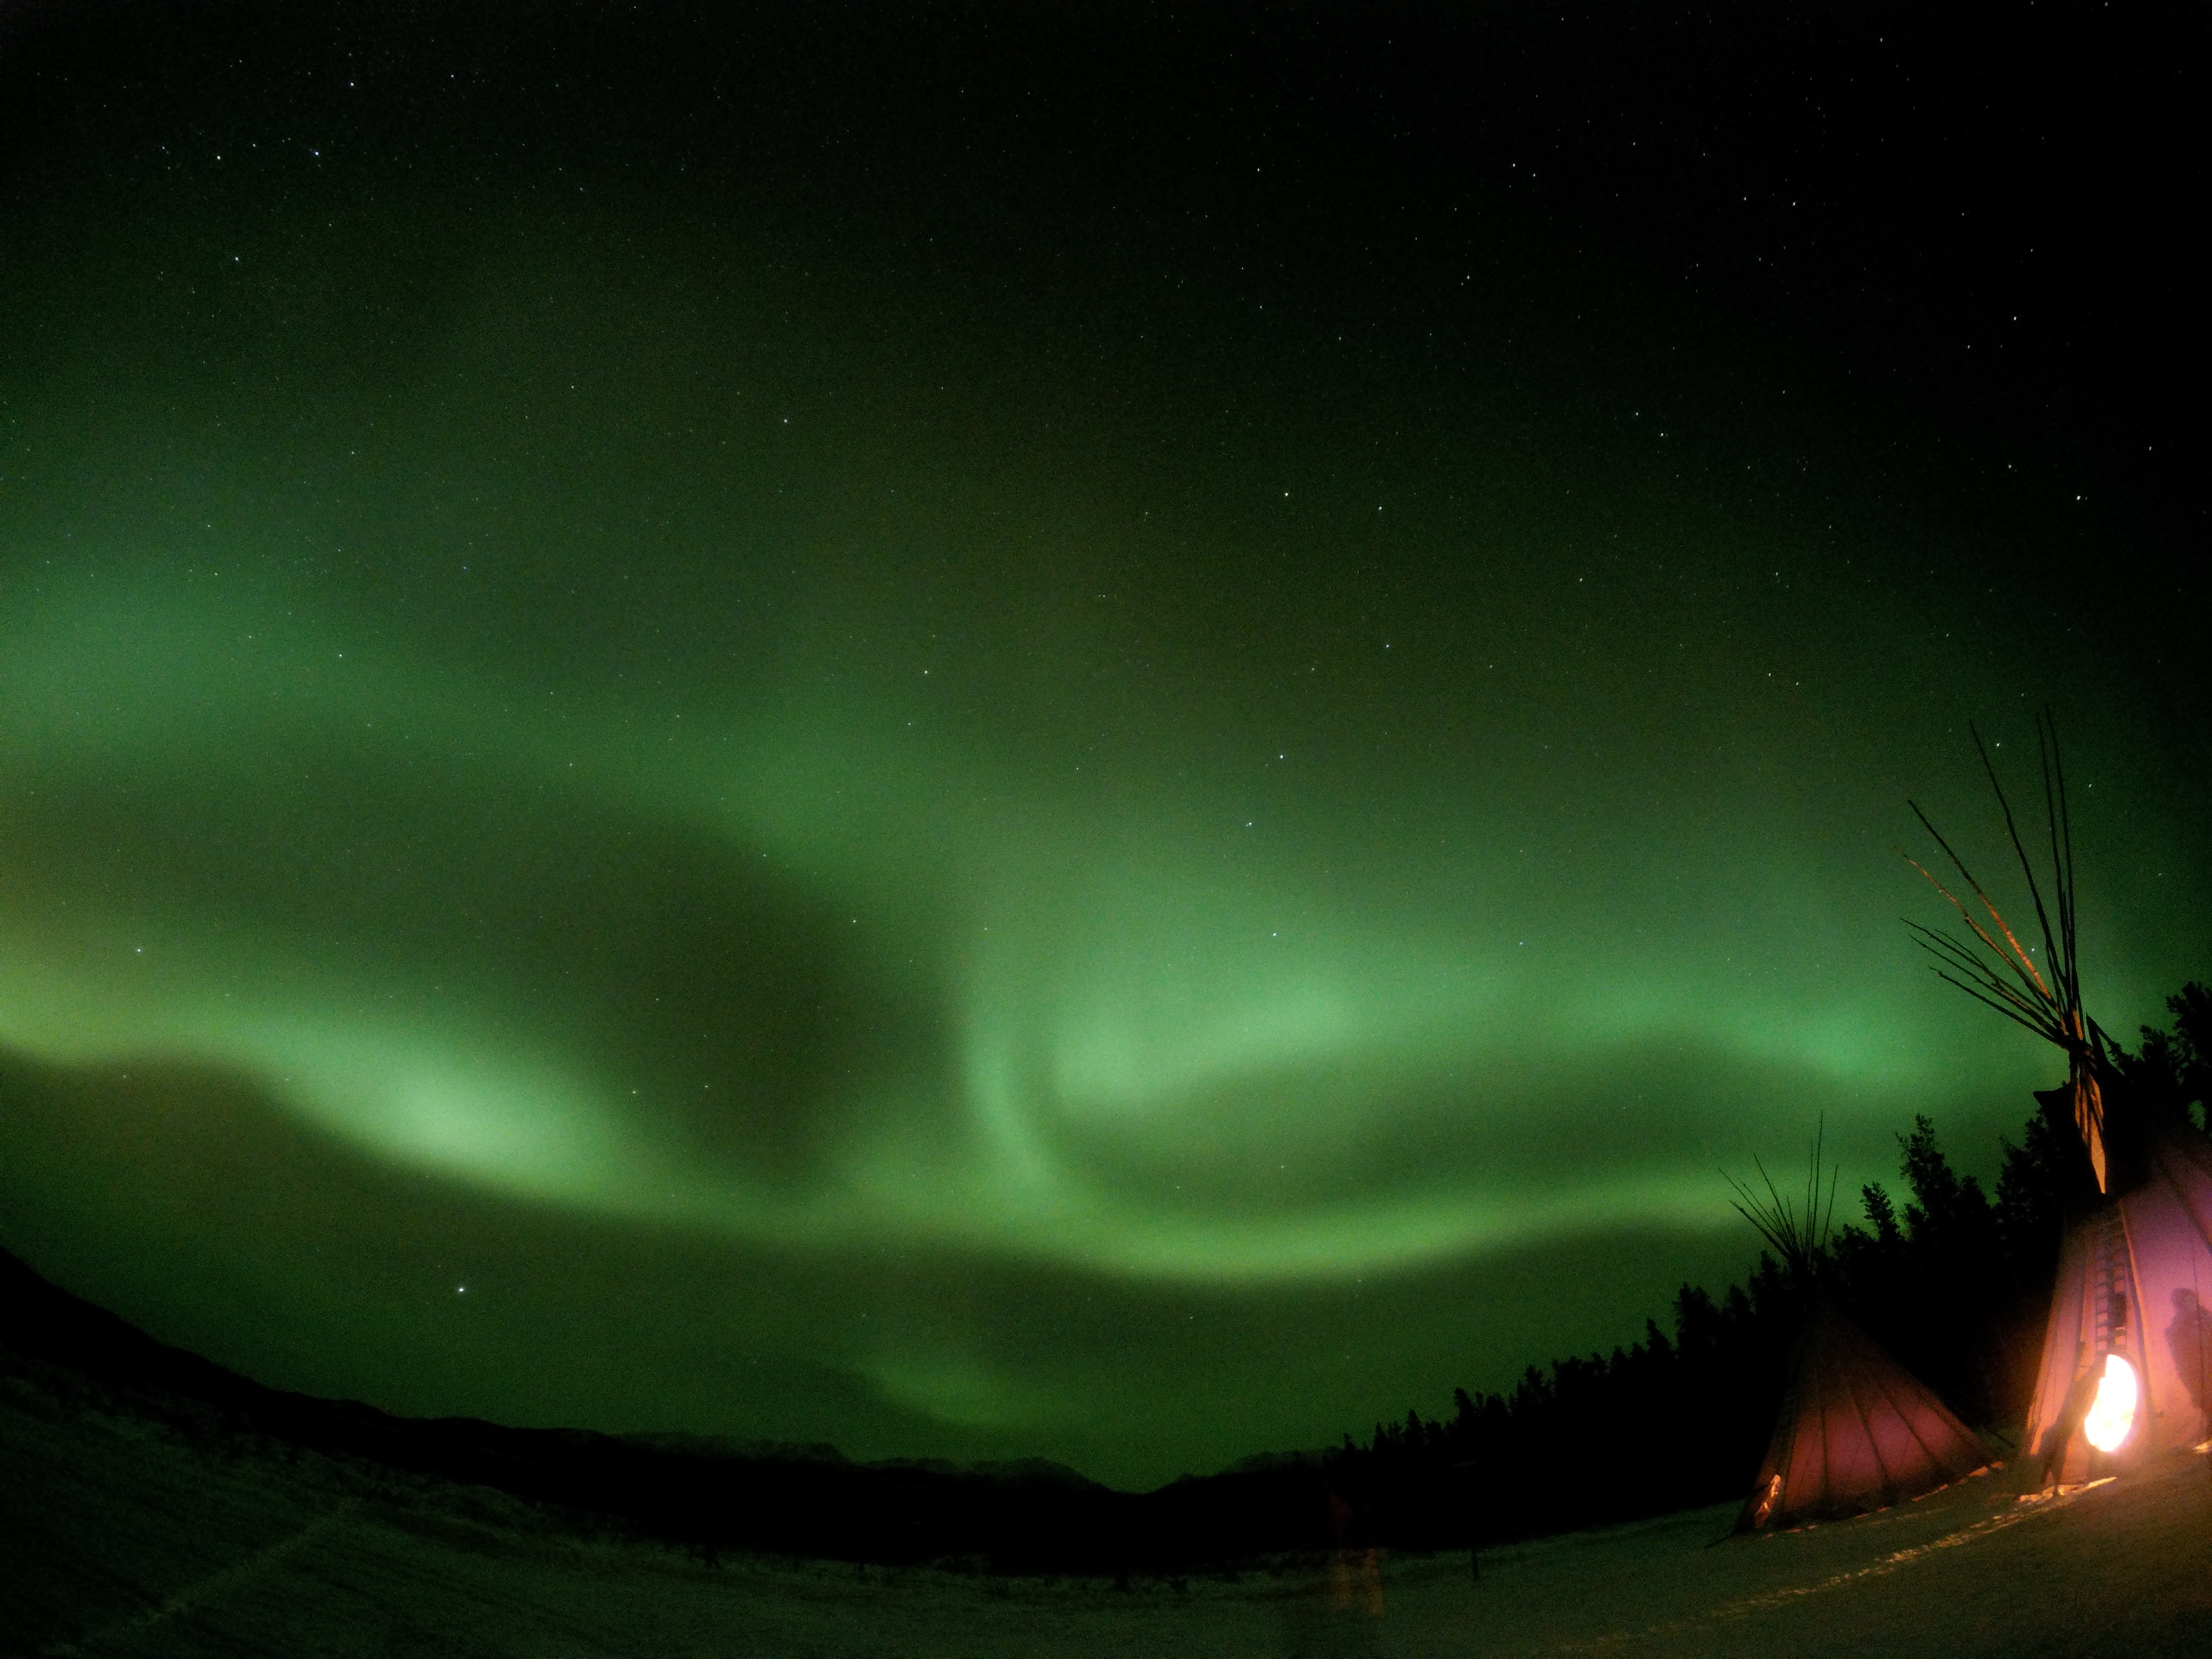
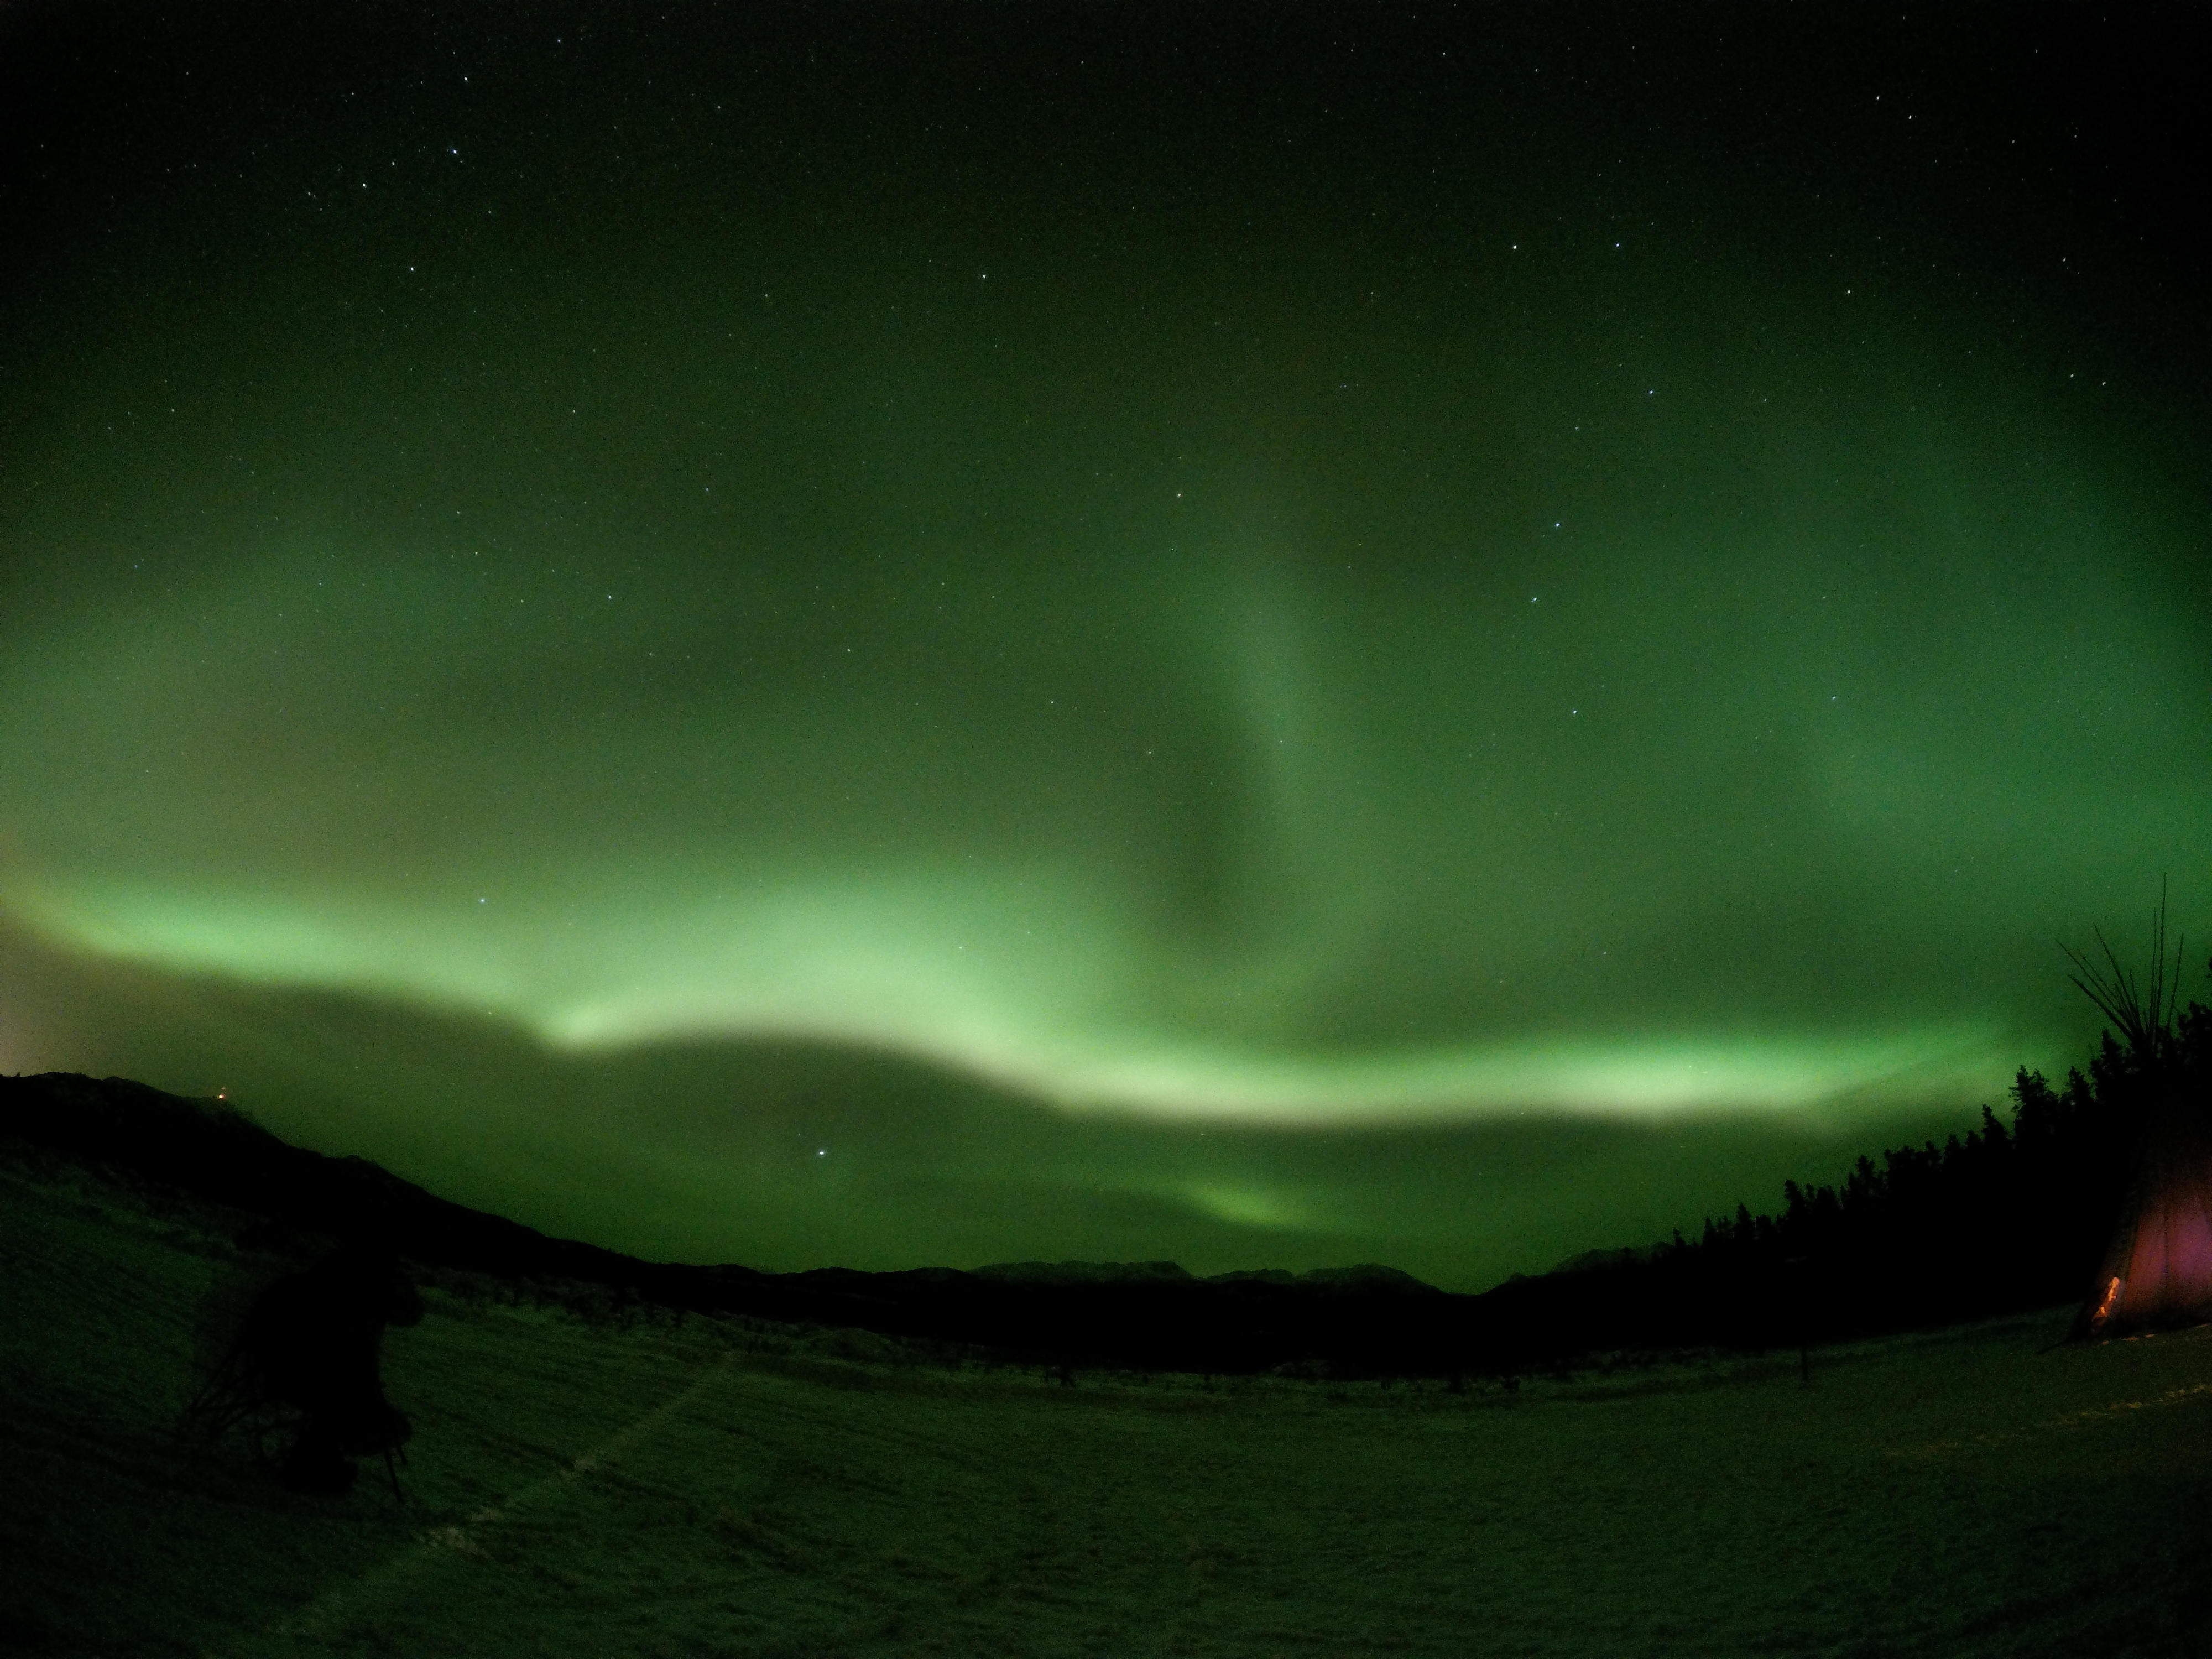
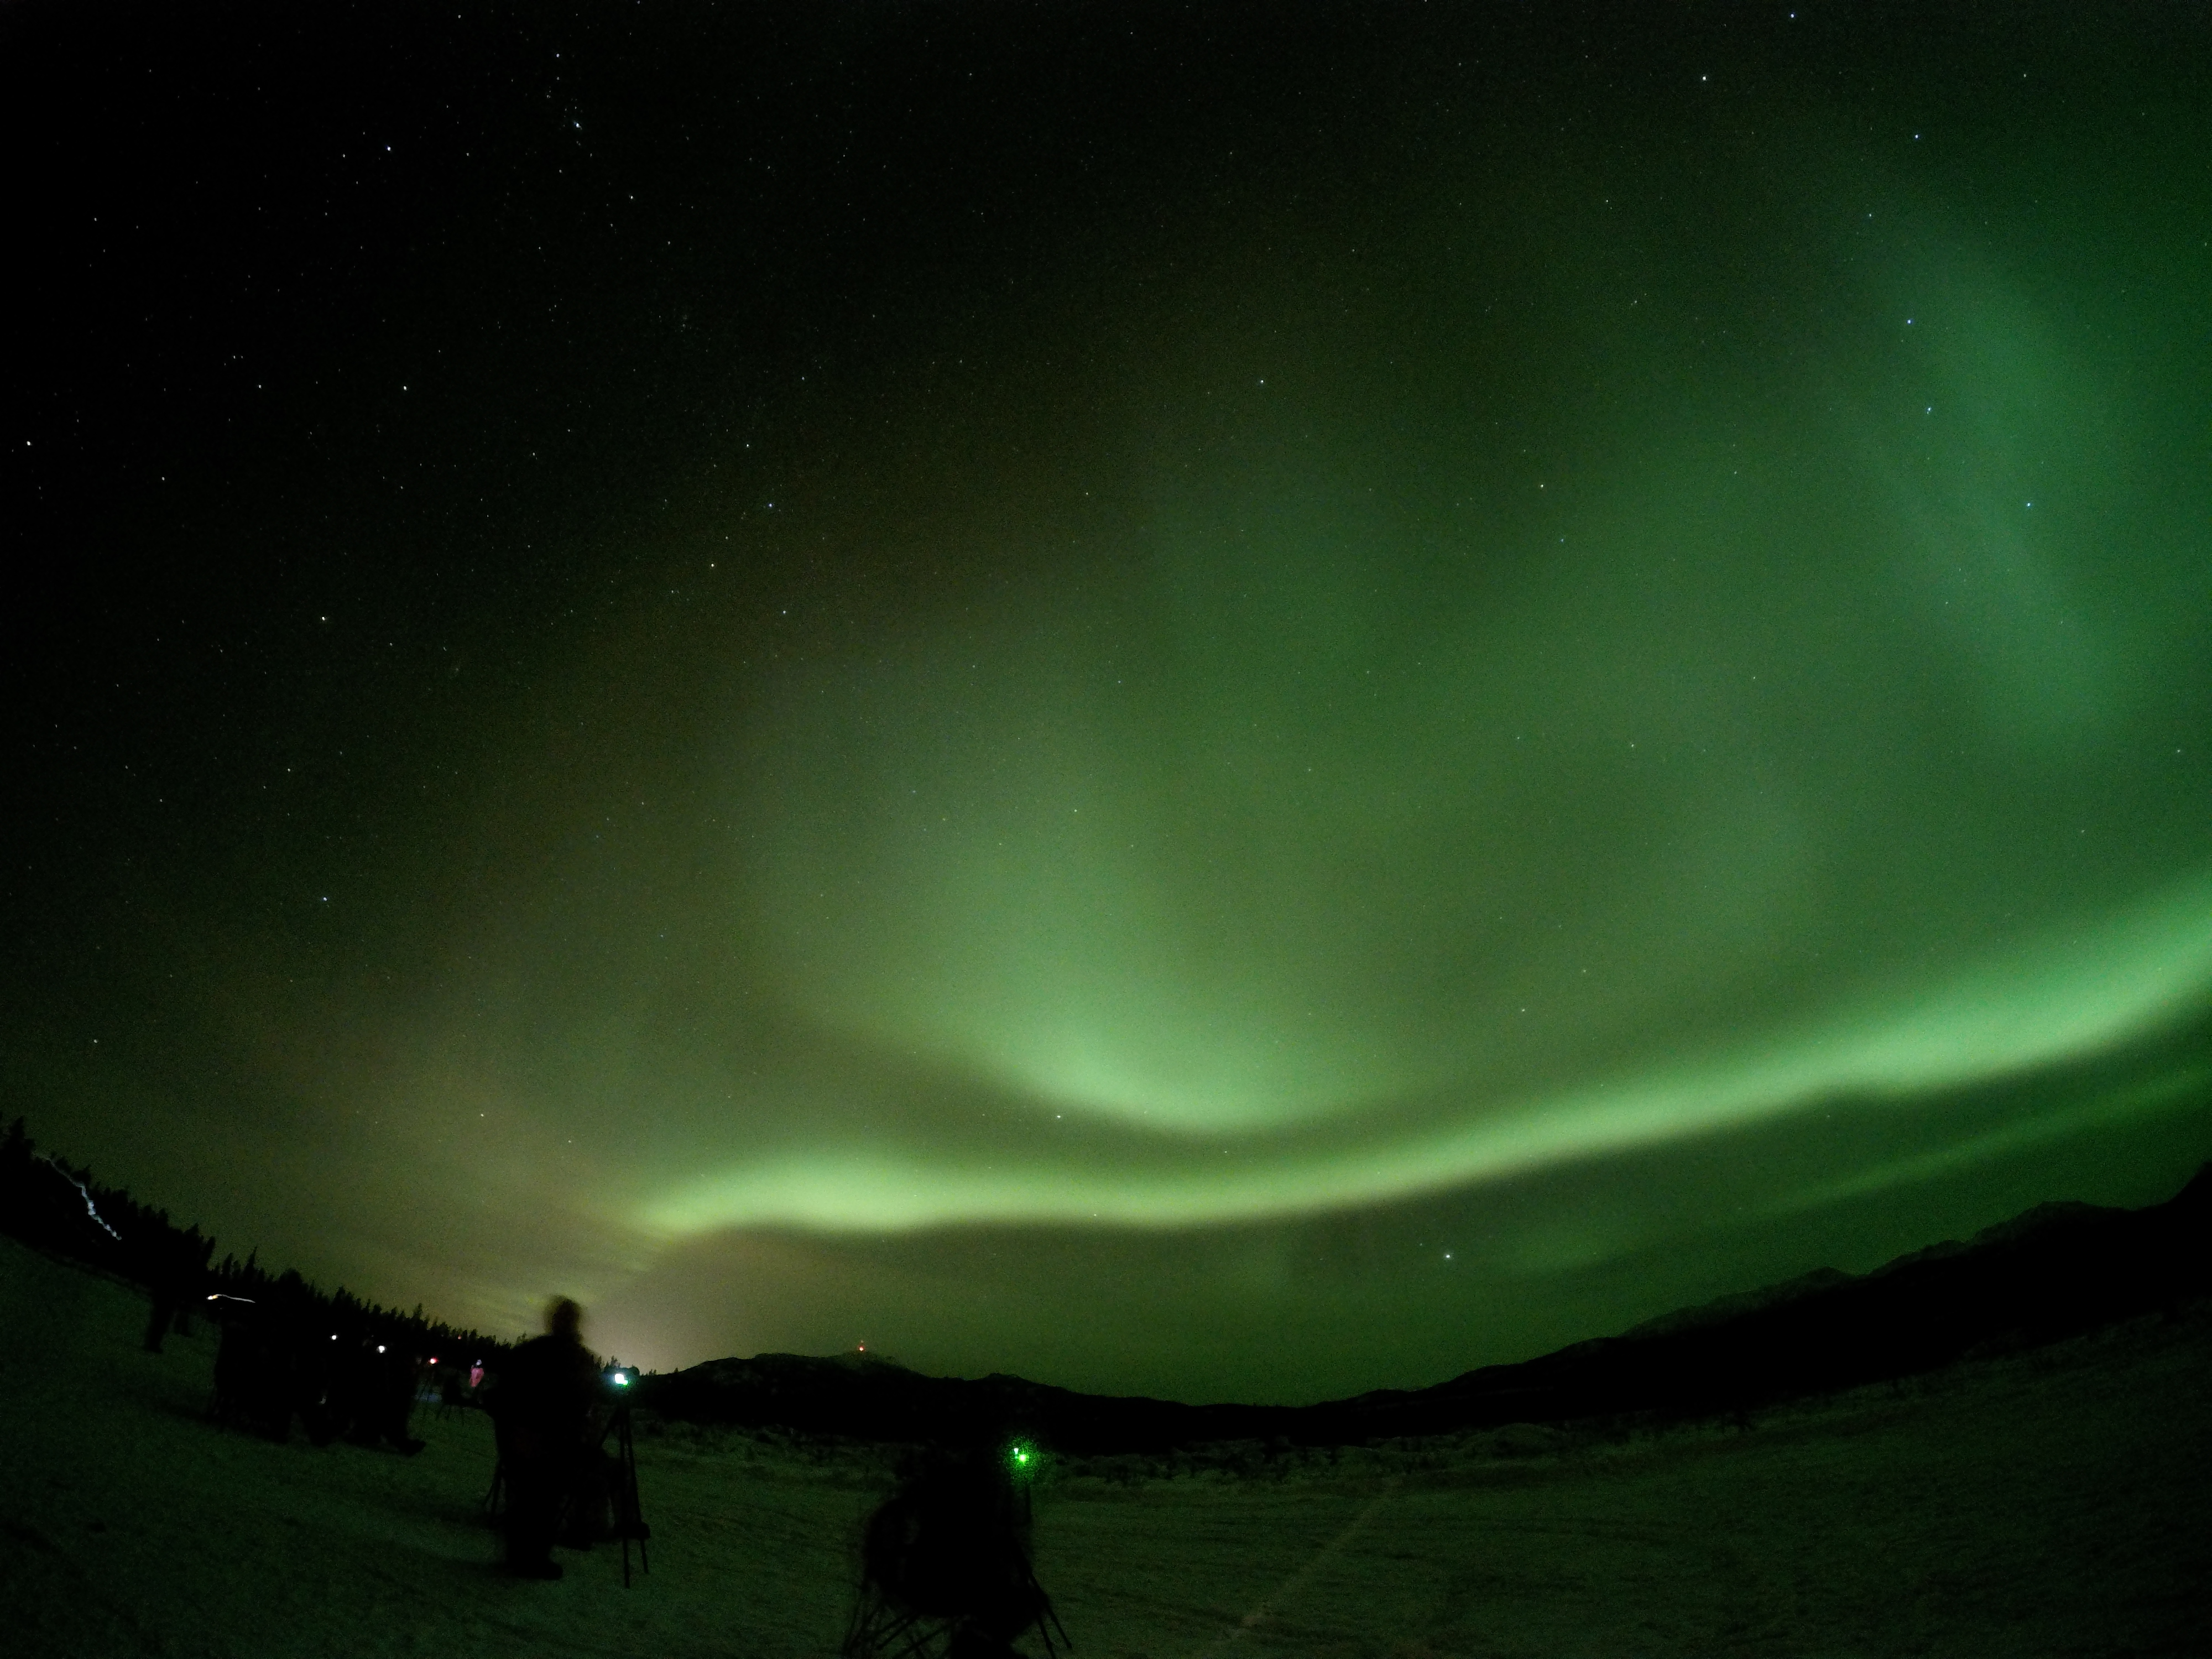
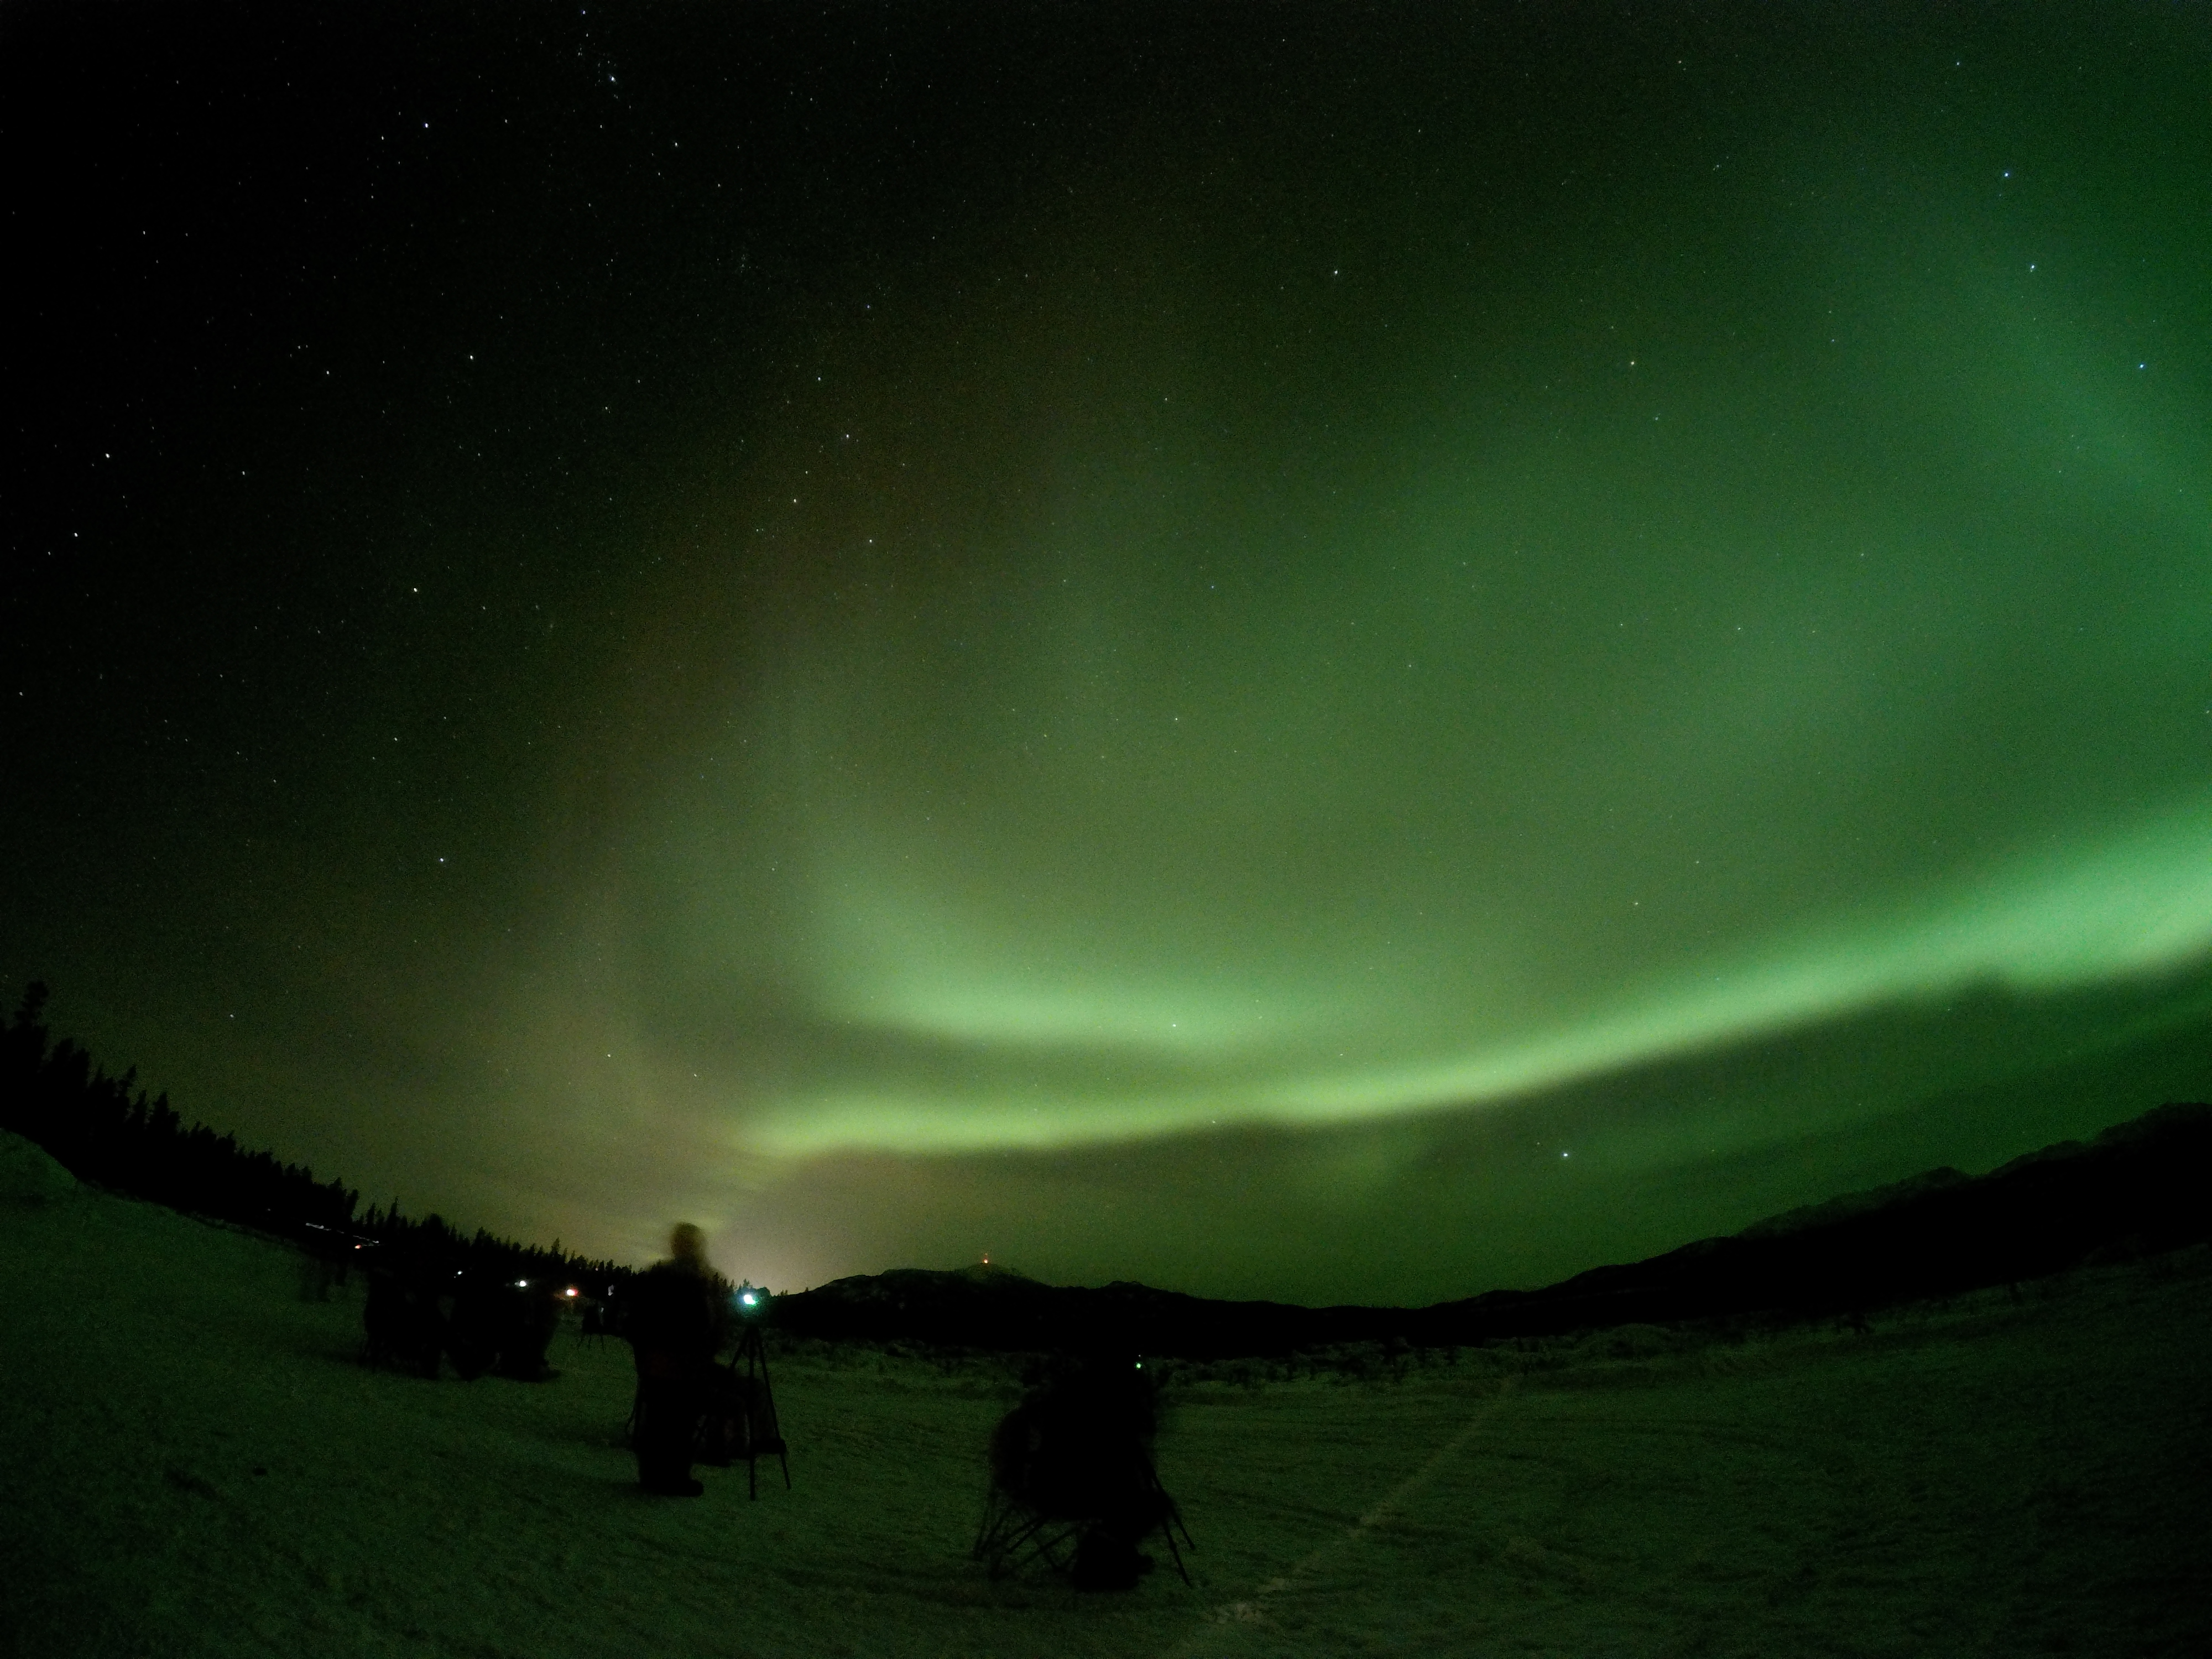
Here are more unedited photos that I was able to take using my GoPro:


** I also did a quick time lapse of the Aurora Borealis! Check out the link below.
Aurora Borealis Time Lapse
💚, R
Read about my other Whitehorse stories!